


Manual Pasta, Spaghetti, Fettuccini Maker Machines
Manual Pasta, Spaghetti, Fettuccini Maker Machines
Regular price
$32.99 USD
Regular price
Sale price
$32.99 USD
Unit price
per
Shipping calculated at checkout.
Couldn't load pickup availability
-
Case PK: 6 PC (For Wholesales Customer Only)
- Item Number: PastaMachine
- HOW TO PREPARE THE MACHINE FOR USE
- Fix the machine onto the table with the clamp provided and insert the handle into the roller hole (Fig. I).
- When using the machine for the first time. clean it with a dry cloth to remove any excess oil. To clean the rollers, pass a small quantity of dough through them and then throw the dough away.
- HOW TO PREPARE THE MIXTURE
- Serves 6 people
- Ingredients: 500 g (~ I lb) soft wheat flour and 5 eggs; instead of using S eggs you can use a glass of natural mineral waler.
- For "al dente" pasta, mix 250 g of soft wheat flour with 250 g of durum wheat flour. Do not add any salt! Pour the flour
- into a bowl and the eggs into the middle ot the flour (Fig. 2). Mix the eggs with a fork until they are completely blended
- with the flour. Knead the mixture with your hands (Fig. 3) until it is completely homogenous and consistent. If the mixture
- is too dry add some water, if it is too soft add some flour. A good mixture should never stick to your fingers. Remove the
- mixture from the bowl and place it onto a lightly floured table (Fig. 4). If necessary, continue to knead the mixture and cur
- it into small pieces (Fig. 5). Tip: do not use eggs straight from the fridge!
- HOW TO PREPARE THE DOUGH AND THE PASTA
- Set the machine regulator to position I, pulling it outwards and turning it so that the two smooth rollers are completely
- open (approx. 3 mm) (Fig. 6). Pass a piece of mixture through the machine tuming the handle (Fig. 7). Repeat this opera-
- tion 5 - 6 times, folding the dough over and adding some flour to the middle if necessary. (Fig. 8). When the dough has
- taken a regular shape, pass it through the rollers once only with the regulators set on number 2
- (Fig. 9), then once again on number 3 continuing until you obtain the desired thickness (min. thickness at no. 9
- approx. 0.2 mm). With a knife, cut the dough crossways in pieces approximately 25 cm (10 inches) long. Insert the handle
- in the hole for the cutting rollers, turn it slowly and pass the dough through so as to obtain the type of pasta you prefer
- (Fig. I0 and 11). Note I - If the rollers won't *cut'", this means the dough is too soft: in this case you should pass the dough
- through the smooth rollers, after adding some flour to the mixture.
- Note 2 - However when the dough is to dry and cannot be 'caught" by the cutting rollers, add a little water to the mixture
- and pass it through the smooth rollers once again. Place the pasta on a table-cloth and leave it to dry for at least an hour.
- Remember that pasta can last a long time (1-2 weeks) if kept in a cool dry place. Bring a pan of salted water to the boil
- (4 litres per I/2 kg of pasta) to which you will add the pasta. Fresh pasta cooks in just a few minutes, averaging 2 - 5 minu-
- les, depending on the thickness. Stir gently and then drain the pasta once it has finished cooking. In order to remove the
- cutting attachment from the machine, lift it up manually making it slide along its tracks. To install attachments onto the
- machine (Fig. 12), repeat this procedure in reverse.
- MAINTENANCE OF THE MACHINE
- MAINTENANCE OF THE MACHINE
- 1 - During use, clean the scrapers underneath the smooth rollers every so often with a piece of kitchen paper (Fig.13)
- 2 - Never wash the machine with water or in the dishwasher! (Fig. 14).
- 3 - To clean the machine after use, use a brush or a wooden rod (Fig. 15)
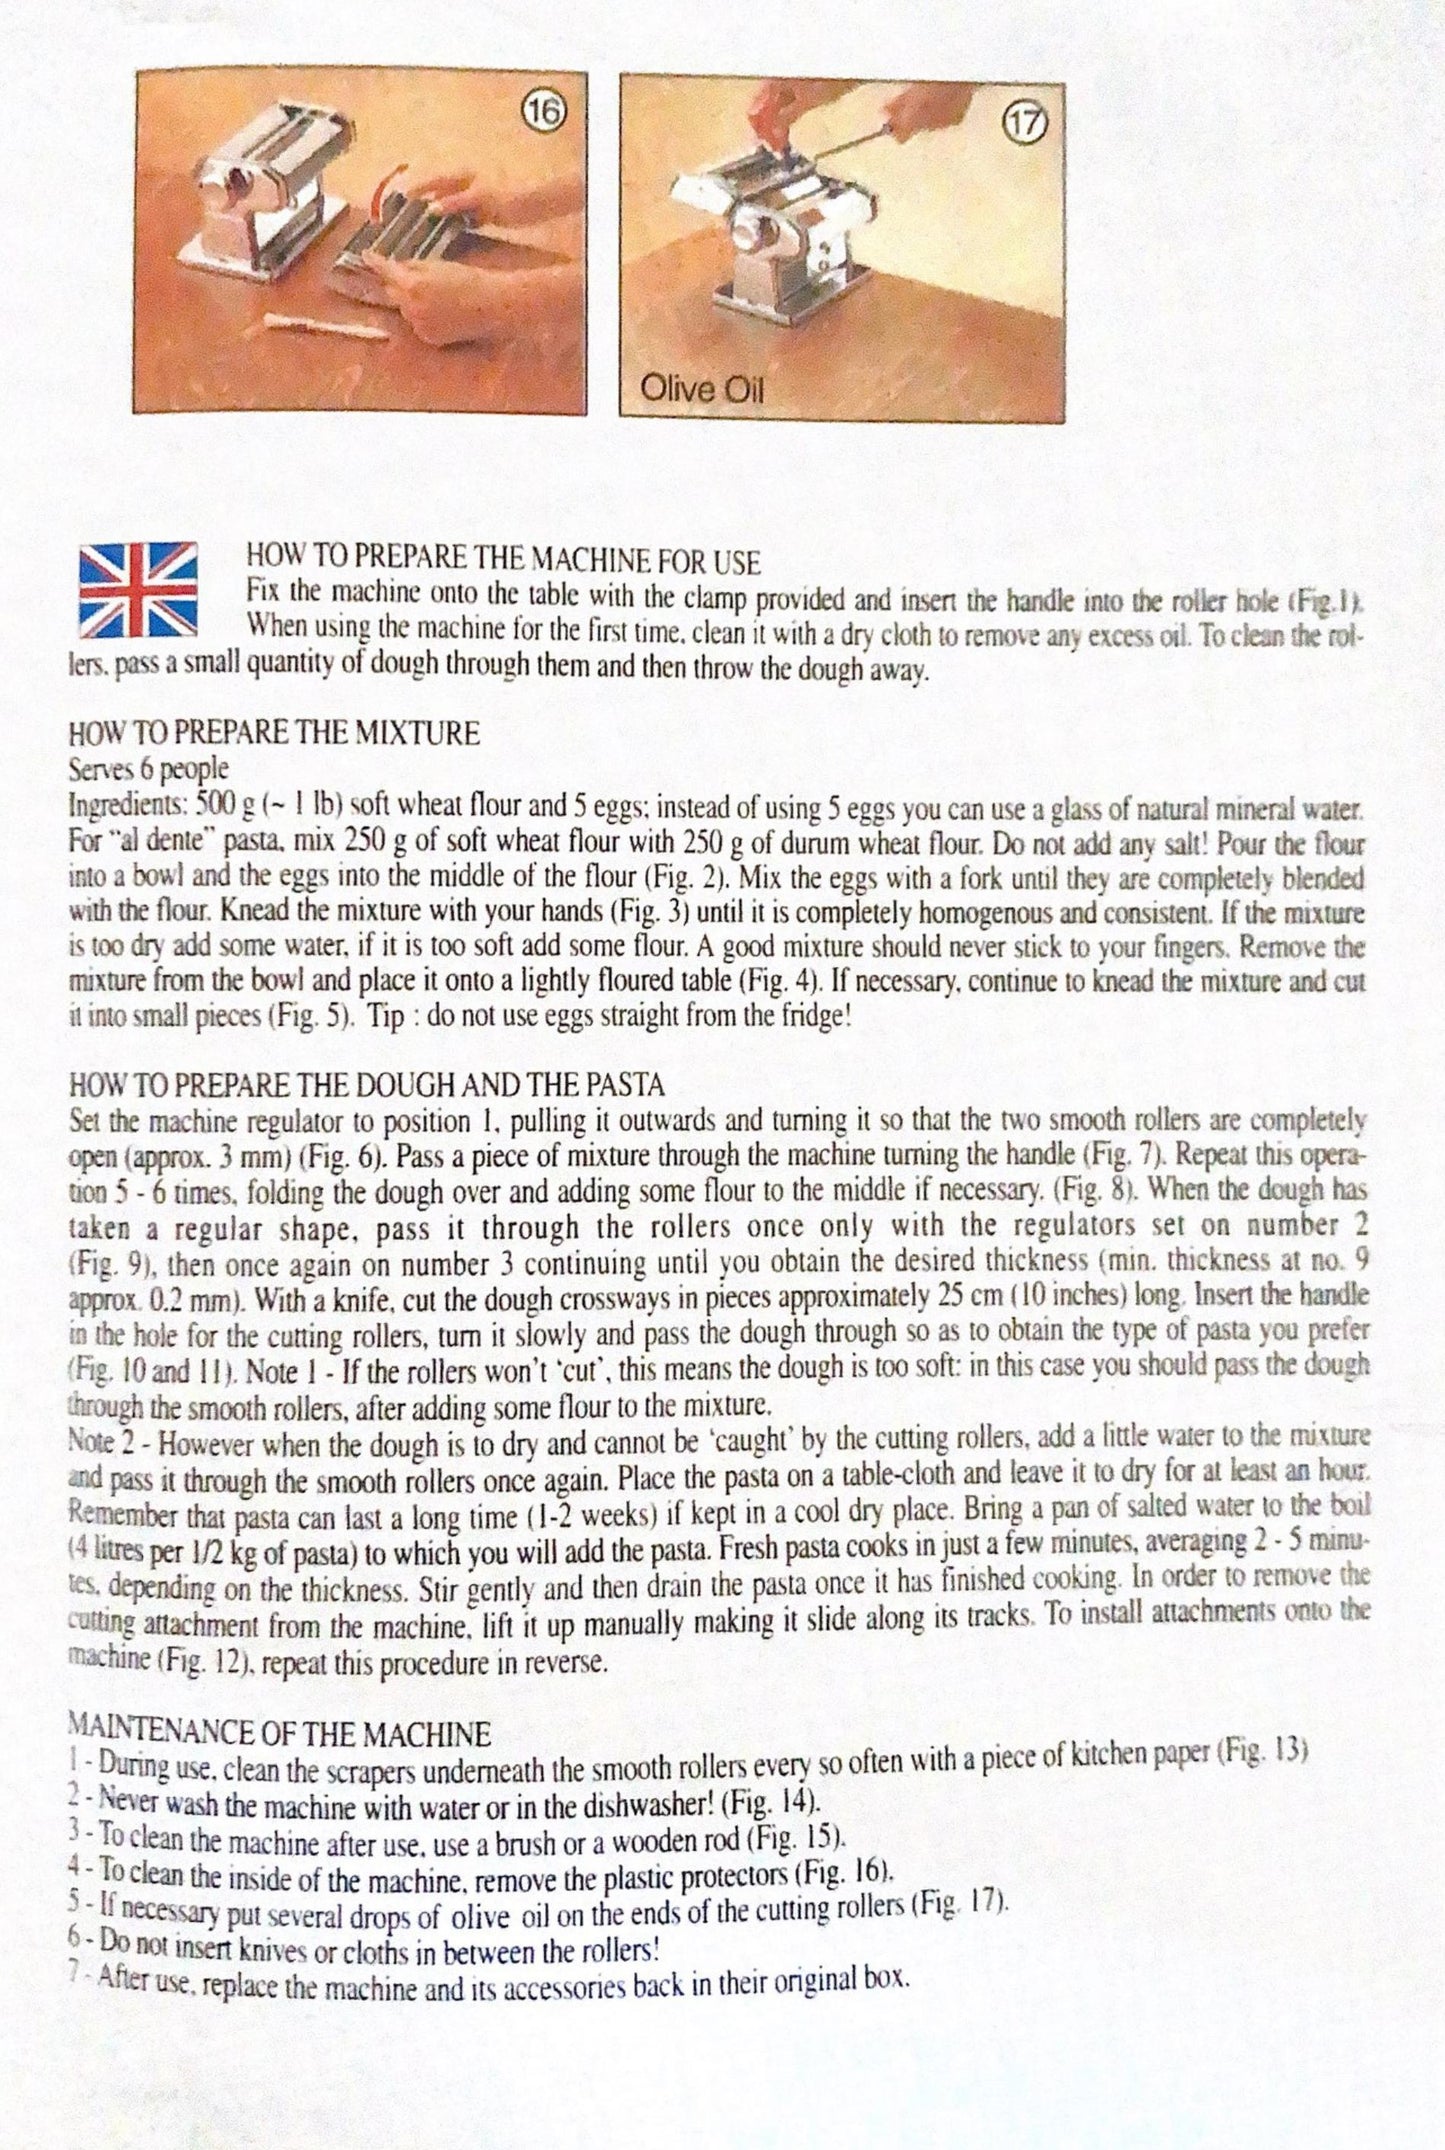
- 4- To clean the inside of the machine, remove the plastic protectors (Fig.16)
- 5 - If necessary put several drops of olive oil on the ends of the cutting
- 6- Do not insert knives or cloths in between the rollers!
- 1- After use, replace the machine and its accessories back in their original box.
NOTES:
- This price is for 1 unit only
- Retail customer please disregard "Case PK" on the 1st row
- Due to the light and screen setting difference, the item's color may be slightly different from the pictures
- Please allow slight dimension difference due to different manual measurement.
- Need more info? Read Before Making Purchase